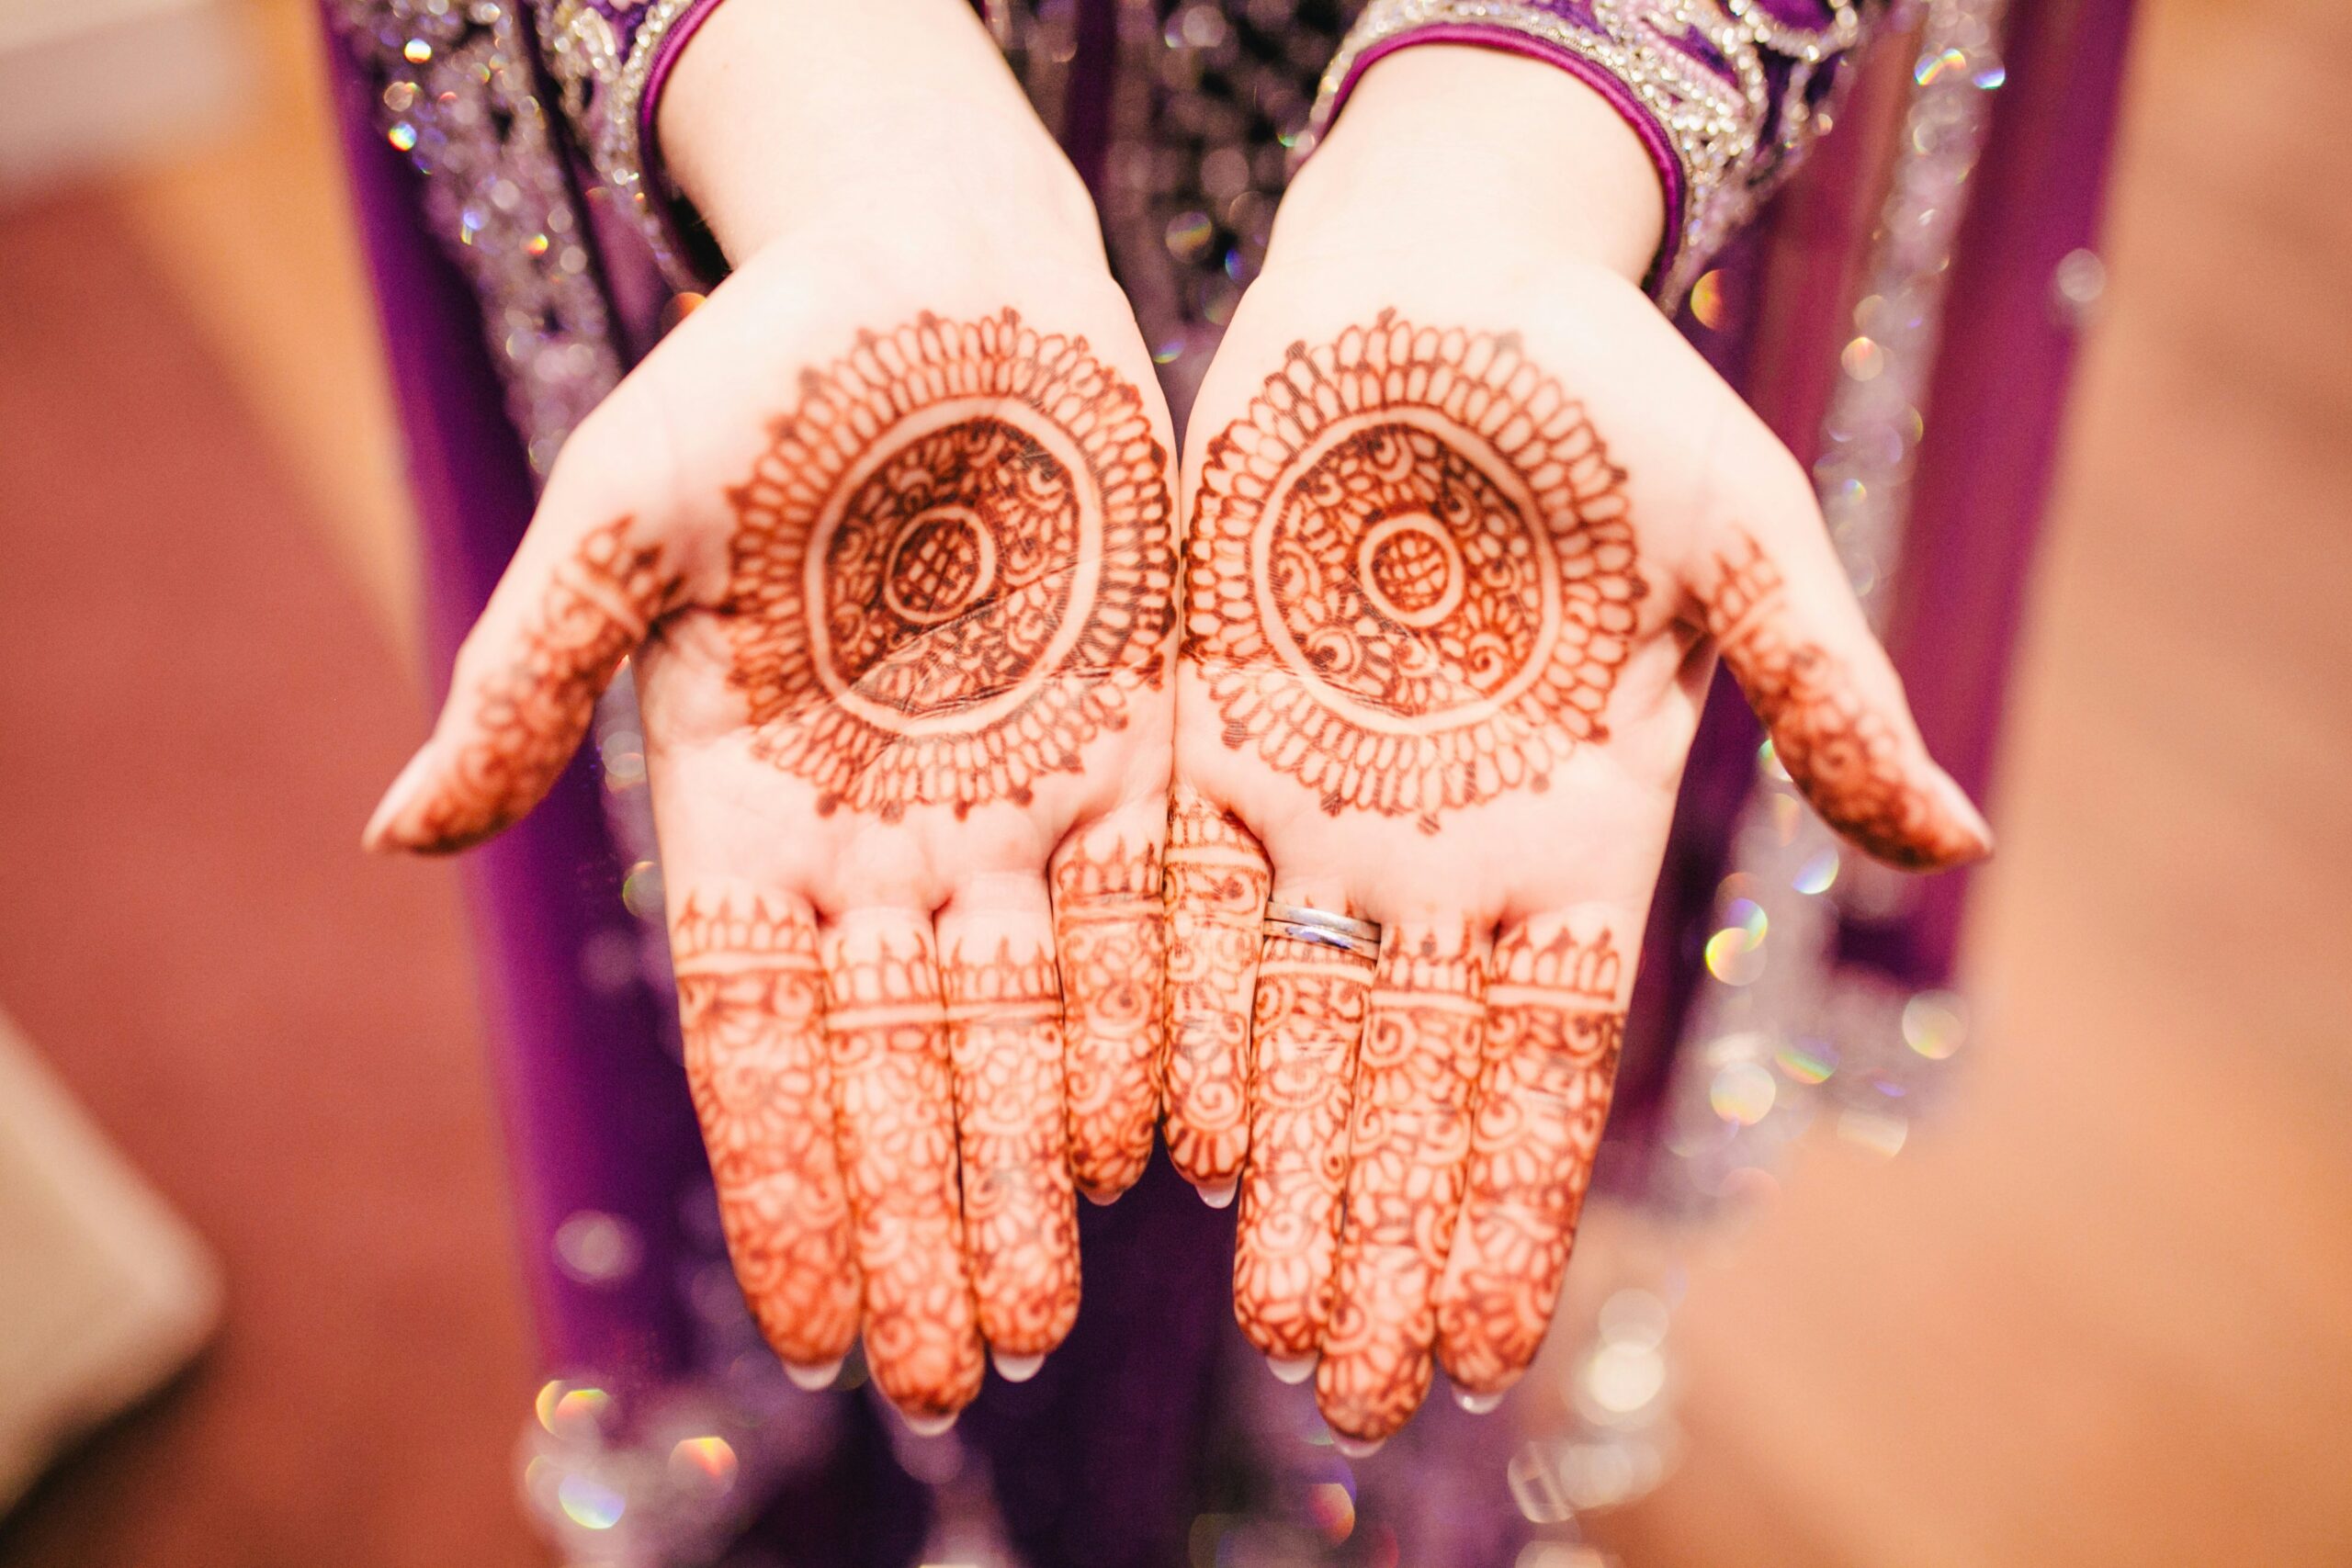
Whether you’re preparing for a wedding, celebrating Eid, Diwali, Karva Chauth, or simply enjoy decorating your hands with beautiful designs, learning how to make mehendi at home gives you complete control over the quality of the paste you use. Freshly prepared mehendi often delivers a smoother texture, richer color, and fewer unnecessary additives than many commercially packaged cones.
These types of kits may be easy to pick up because they have convenience, but not always. A good example of this are the cone mehendi where some manufacturers like to add other preservatives, unnatural color or even some chemicals to keep it in store for a long time. These can make it difficult if you have sensitive skin or can even alter the original imprint.
For the true effect and benefit it is recommended that you take the time out and mix up your own.
The whole procedure to do that isn’t too difficult, if you get the best natural quality henna powder and mix it appropriately; your resulting tattoo stains of mehendi shall stain deeply for quite some duration. If your looking to create a traditional and effective design using your hands, then here is a guide to prepare yourself before making your mehendi paste;
Why Make Mehendi at Home?
Homemade mehendi: 3 benefits It will save your money! Firstly, it’s the most obvious. Freshly prepared mehendi Paste is comparatively more even and easily applicable, thanks to the consistency, of which YOU are the in-charge!
Some of the biggest benefits include:
- Using fresh, natural henna powder.
- Avoiding unnecessary artificial colors and additives.
- Customizing the paste for different designs.
- Creating enough paste for family celebrations and festivals.
- Preparing a mixture suitable for your skin type.
Although preparing mehendi requires some patience, the extra effort often results in a richer stain and a more enjoyable application experience.
Ingredients You’ll Need
One of the reasons homemade mehendi remains popular is that it requires only a handful of simple ingredients.
Basic Ingredients
- 100 grams of natural body-art-quality henna powder
- Fresh lemon juice
- Strong brewed tea or distilled water
- 1–2 teaspoons sugar
- A few drops of eucalyptus, lavender, or tea tree essential oil (optional)
- A non-metal mixing bowl
- Plastic wrap
- Fine sieve
Using body-art-quality henna is important because it is finely sifted, making the paste smoother and reducing the chance of clogged cones during application while helping you choose natural henna for skin more carefully.
Step 1: Choose High-Quality Henna Powder
The overall staining of your henna depends significantly on the henna powder quality itself. Most Fresh henna looks a earthy green colour with a lovely earthy herbal scent. Older powders are often flat or even brownish looking and you may find they don’t develop well. Henna designed specifically for body art as opposed to hair colouring ( which you should avoid ), will be ground so finely it will run smoothly through the henna cone..
If possible, buy henna from a trusted supplier that stores it in airtight packaging to preserve its natural dye.
Step 2: Sift the Henna Powder
The small plant fibers might also pass through fine and high quality henna powder itself. The extra particles that can cause a barrier during henna cone creation can be sieved. Though this seems small a job yet by the help of fine sieved material we gain smooth. Thus the paste will be fine, which can pipe very fine floral and Arabic or bridal mehendi designs .
Step 3: Prepare the Liquid Mixture
Alternatively some seasoned mehendi artists will substitute the normal water used for preparing mehendi with some freshly prepared tea instead, this would allow the mehendi paste to remain as smooth as possible and keep it properly moistened all the time. Stir the mix with a small spoon adding the liquid to the powdered mehendi gradually until it achieves a thick mashed potato kind of Consistency. Stir in a teaspoon or two of sugar as the sugar will enable the mehendi paste adhere on the skin for a longer time once it dries a little.
At this point, you can also add few drops of the eucalyptus oil or such natural oils to your mehendi Paste.
The presence of terpene compounds present in eucalyptus oil helps in dye released.
Step 4: Mix Until Smooth
The most typical rookie error is hurrying through the mixing process. Stir until there are no clumps of powder left and the paste is smooth and creamy.
When the mixture becomes to thick, add liquid a few drops at a time, don’t just pour it all in as you will then have to thicken it up again. When too thin add only a dusting of more powder.
Ideally, you want the mixture to be thick enough to stick on the skin, yet be smooth enough to run through a mehendi cone with relative ease.
Step 5: Allow the Dye to Release
This might sound strange, as many don’t think of this with the fresh batch of their new henna paste. You have finished preparing your new henna batch; the next thing to do with it is: Cover your bowl of fresh henna paste with some fresh saran wrap that sits directly on the surface of the henna paste, minimizing air exposure. Let it sit in room temp for about 6-12 hours.
During this time, the henna is “brewing,” i.e.
Naturally releasing its dye, lawsone, from the leaves to stain the uppermost part of your skin to reddish-brown. This timing might vary depending on the temperature of the room that your paste is resting at, its humidity, freshness, etc.
How to Know the Mehendi Is Ready
Before filling your cones, check that the paste has reached the right consistency and dye release.

Fresh homemade mehendi should have:
- A smooth, creamy texture without lumps.
- A consistency similar to thick yogurt.
- An earthy, fresh herbal scent.
- A slight reddish-orange tint visible on the surface, indicating that the dye has begun to Then, if you wish, you can thin it with a few drops of liquid if it becomes too stiff, when you bring to rest, without overdoing it.
Making how to make mehendi at home part of your beauty routine is not just about mixing ingredients—it’s about preparing a fresh, natural paste that delivers beautiful, long-lasting results. In the next section, you’ll learn how to fill mehendi cones, apply the paste correctly, naturally darken the stain, store leftover mehendi, and avoid common mistakes that can affect the final color.
How to Apply Homemade Mehendi for the Best Results
After you’ve whipped up your concoction for homemade mehendi, the following thing to grasp is the fine way to a real app. Otherwise, you may find yourself with less bright than expected henna results even with the best paste possible. Firstly wash the hand/part where you want to paint mehendi, to remove all your hand creams/ lotions and make sure your skin is perfectly dry before beginning the actual decorating as it acts as a barrier, allowing even, vibrant colours to imprint on to the skin.
Squeeze the paste into mehendi cone/applicator.
Practice painting easy lines or flowers at the beginning and gradually use more intricate designs. Remember apply uniform pressure at all times and make the paint seem to have a raised texture on the skin
How to Get a Darker Mehendi Stain Naturally
One of the most common questions after learning how to make mehendi at home is how to achieve a rich, dark stain. While the final color depends on factors such as skin type, henna quality, and body temperature, a few natural practices can help maximize the results.
Let your mehendi sit for six to eight hours minimum. Most people would sleep it in, if they are aiming for darker color.When the mehendi paste begins to dry, gently pat a blend of lemon juice and sugar onto the design to improve color development and help the paste stay in place.
This will ensure the mehendi stays in place a bit longer and doesn’t crack much.
After a good six hours (or sleep if you can stretch it), scratch off the paste instead of washing it with water. And most importantly, do not let the area get wet for hours! The color continues to develop and deepen in the coming 24 to 48 hours, so try to minimise its direct contact with water.
Common Mistakes to Avoid
Even though you have fresh ingredients, you can make a few small errors that can spoil it all.
Old or low quality henna powder is one of the biggest reasons for pale stains. Leaving out the dye-release period can sometimes compromise with stains, because the paste needs to set time for the natural dye to form. Too watery a paste can’t be designed easily, and early removal means pale stains.
It is essential to carry out a patch test if this is the first time that you’re using essential oils, especially if your skin is too sensitive, since essential oil skin safety should always be considered before topical use.
Storing Leftover Mehendi
What if you make more paste than required You can store the unused mehendi paste in a container and reuse it. Use any mehendi cones and seal them before keeping them in the freezer. In many cases, fresh frozen homemade mehendi retains its quality for longer than one left out for some days. Remove from the freezer and let the cones thaw to normal before you use them and make sure the texture remains smooth.
Conclusion
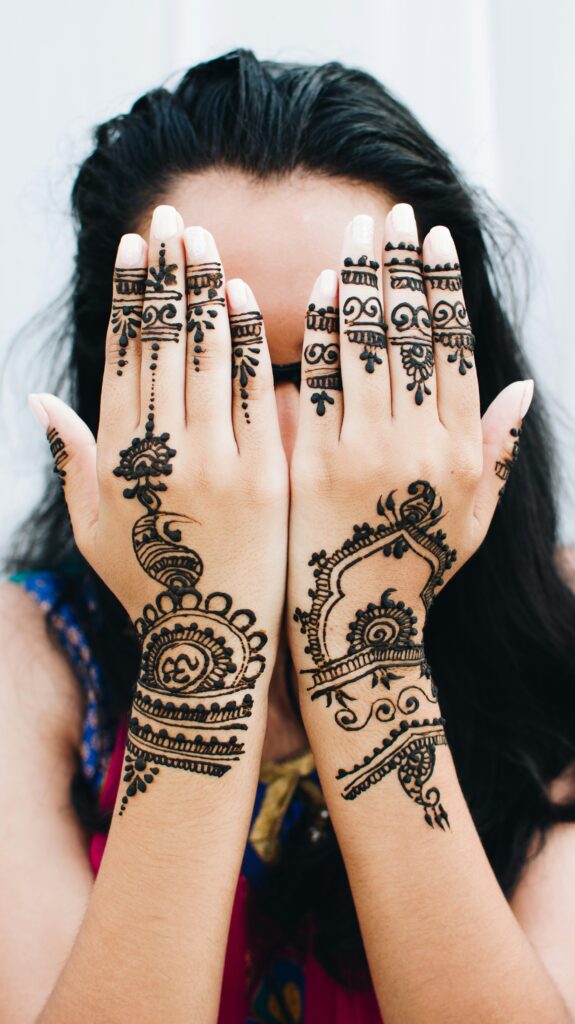
Learning how to make mehendi at home can be a greatly satisfying experience. It allows one to express oneself creatively, and the bonus aspect is that you’re using fresh, natural ingredients for this art form. With quality henna powder, adequate dye release time, the perfect paste consistency and the right aftercare methods, it’s very possible to attain rich, lasting henna stains at home while following a natural beauty routine. So, ditch those store bought cones and experiment with natural mehendi, whether you’re decking your hands out for a festival, wedding, family function or just practicing this age-old tradition for sheer fun.
Frequently Asked Questions
1. What ingredients do I need to make mehendi at home?
In order to prepare homemade mehendi, one would need body-art quality henna powder, lemon juice or brewed tea, sugar and possibly a few drops of essential oil, such as eucalyptus or lavender. All of these ingredients aid in the preparation process and promote the quality of the final result.
2. How long does the homemade mehendi need to rest?
To achieve the ideal texture and deeper color, let the homemade mehendi paste sit at room temperature for 6–12 hours before applying it.This way, the dye will release and darken the mixture to a rich, dark red.
3. How can I make my homemade mehendi stain darker?
In order to achieve a darker stain on the skin, one should leave the mehendi paste on their skin for 6-8 hours, or even overnight. In addition, once the paste has dried, it might be helpful to use a mixture of lemon and sugar to rub into the design to promote the desired color. Furthermore, it is best not to rinse the dried mehendi design and let it rest until the next day. Following such steps should allow one to obtain the required stain darkness.
4. How long does the homemade mehendi last?
The shelf-life of the homemade mehendi is about 3 months when it is stored in an airtight cone in the freezer. It should be thawed before use and will generally last for a shorter period of time. On the other hand, if prepared correctly, it should last for up to three weeks in the refrigerator.
5. Is homemade mehendi better than the cones in stores?
Although ready-made mehendi cones are more convenient in some cases, many people claim that homemade mehendi is of a better quality. This is because in the store cones there is often an additional dye or other substances added, promoting a faster stain. On the contrary, when making mehendi at home, one can choose exactly what ingredients to add and ensure a better consistency of the paste. As a result, it would provide a darker and more natural stain.