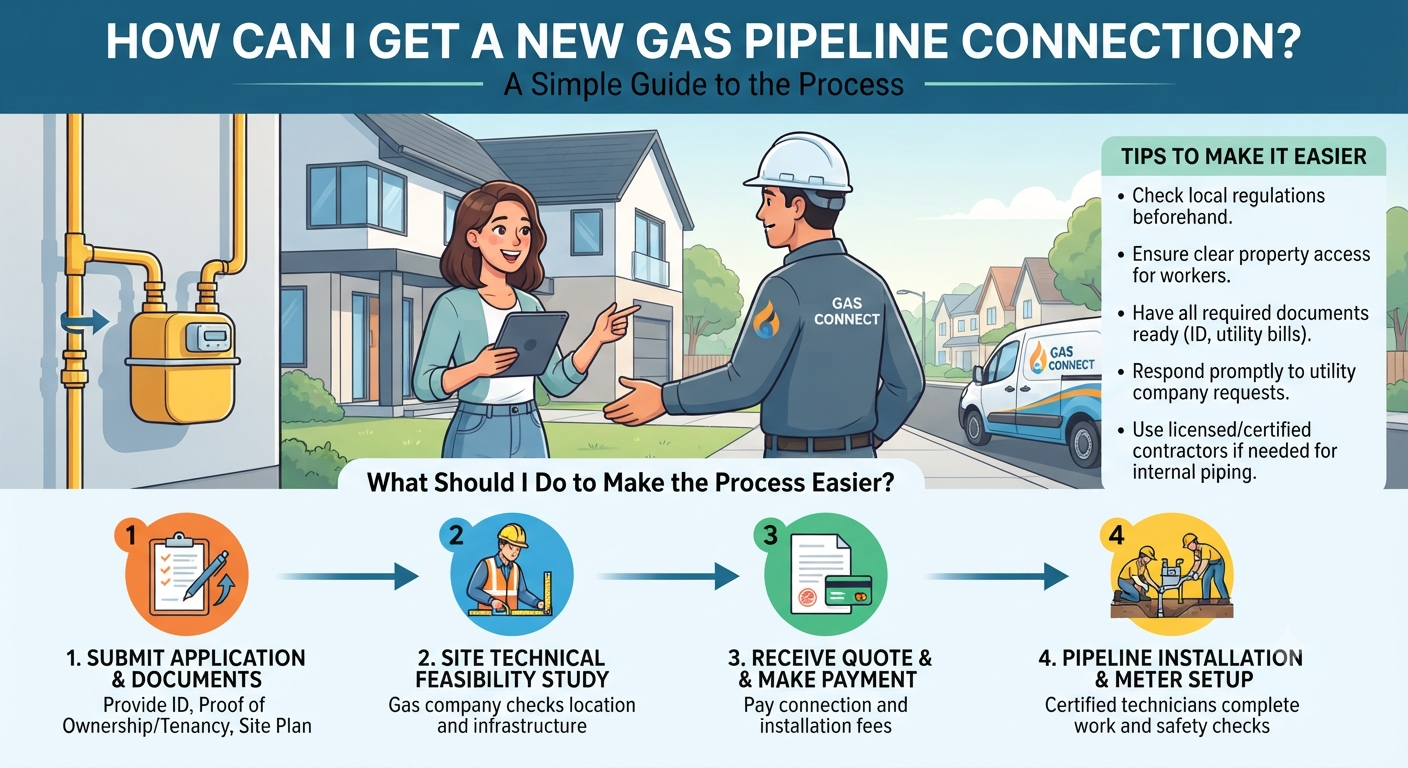
Converting a home, commercial building, or industrial property to piped natural gas is one of the most significant infrastructure upgrades a property owner can make. Piped natural gas (PNG) or liquefied natural gas (RLNG) delivers an uninterrupted, highly efficient, and cost-effective energy supply directly to your doorstep. It eliminates the hassle of managing heavy portable cylinders, protects you from seasonal fuel shortages, and supplies high-demand appliances—such as central space heaters, high-efficiency water heaters, outdoor generators, and commercial ranges—with steady operating pressure.
Even with its many advantages, first-time applicants frequently describe the utility enrollment process as complicated due to the paperwork, technical surveys, local permits, and safety regulations involved. If you are standing at the starting line asking yourself, how can I get a new gas pipeline connection? What should I do to make the process easier?, this comprehensive guide provides the complete roadmap.
By breaking down the utility application framework, site feasibility assessments, internal fuel line plumbing standards, pressure safety tests, and strategic shortcut practices, you can navigate the entire journey with total confidence and minimum delay.
The Core Blueprint: How Can I Get a New Gas Pipeline Connection? What Should I Do to Make the Process Easier?
To successfully secure a main-line gas drop, you must first understand that a gas pipeline installation is a joint effort between two distinct entities: the local gas utility company and your private, licensed plumbing contractor. The gas delivery system is strictly divided at the main shutoff valve and meter assembly, known in the utility industry as the demarcation point.
+———————————————————————————–+
| PUBLIC UTILITY RESPONSIBILITY |
| |
| [ Distribution Main ] ——–> [ Service Line Drop ] ——–> [ Gas Meter ] |
+———————————————————————————–+
|
Demarcation Point
|
+———————————————————————————–+
| PROPERTY OWNER RESPONSIBILITY |
| |
| [ Internal House Line ] ———> [ Pressure Test ] ——–> [ Fuel Appliances ]|
+———————————————————————————–+
1. The Utility Network Side (Street Main to Meter)
The local distribution company (LDC)—such as Sui Northern Gas Pipelines Limited (SNGPL) or Sui Southern Gas Company (SSGC) in Pakistan, City Gas Distribution (CGD) networks like IGL/MGL/IOAGPL in India, or regional providers like National Grid and ConEdison in the United States—owns, manages, and installs the public infrastructure. This includes tapping into the main pipeline beneath the street, laying the underground service line to your lot line, and mounting the exterior gas meter equipped with a pressure regulator and emergency shutoff valve.
2. The Customer Property Side (Meter to Appliances)
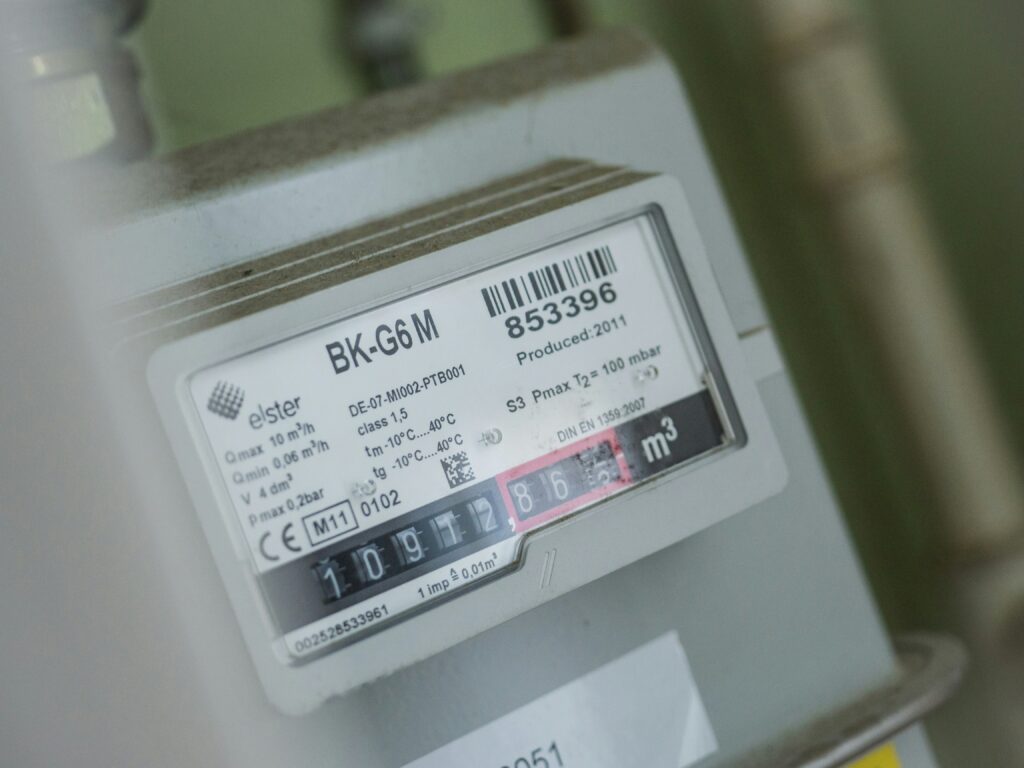
The property owner is solely accountable for maintaining and managing everything downstream of the meter outlet, including any related legal and financial obligations.
This encompasses internal fuel lines (black iron pipe or corrugated stainless steel tubing), isolation valves, sediment traps (drip legs) at each appliance, and the final physical hookup to your equipment.
Understanding this division is the first essential step when evaluating how can I get a new gas pipeline connection? What should I do to make the process easier? Reviewing your local gas connection application process beforehand can also help you understand utility-specific requirements and avoid unnecessary delays. You cannot simply wait for the utility company to handle everything; you must prepare your private property concurrently so that when the utility arrives to set the meter, your building is fully inspected, compliant, and ready to receive gas safely.
Phase 1: Feasibility Assessment and Fuel Load Calculations
Before submitting a formal application or purchasing expensive gas-powered appliances, you must complete a preliminary site feasibility check and calculate your total energy load.
+———————————————————————————–+
| PRE-APPLICATION FEASIBILITY CHECKLIST |
+———————————————————————————–+
| |
| [ ] Street Main Proximity: Confirm an active gas distribution line passes nearby.|
| [ ] Neighbor Reference: Collect a recent gas bill copy from an adjacent property.|
| [ ] Appliance BTU Sizing: Itemize all planned equipment and calculate total load.|
| [ ] Ownership Documentation: Ensure property deeds or title documents are clear. |
| [ ] Local Zoning Check: Confirm no municipal bans or building authority disputes.|
| |
+———————————————————————————–+
Checking Main Pipeline Proximity
The presence of gas service in your city or neighborhood does not automatically guarantee that a service line can be dropped to your door. If an active distribution line already runs directly in front of your street frontage, your installation qualifies as a standard service connection.
However, if the nearest gas main terminates several hundred feet down the road, the utility company will have to perform a main extension. Main extensions involve cutting public road surfaces, deep trenching, laying larger-diameter distribution pipe, and restoring pavement to municipal standards.
Depending on utility tariffs, the company may absorb a portion of extension costs if your prospective long-term gas consumption justifies the capital expenditure. Otherwise, they will issue a line extension charge to the applicant. Identifying this early is a critical component of answering how can I get a new gas pipeline connection? What should I do to make the process easier?
Calculating Total Connected Fuel Load
When filling out your utility application, you will be required to declare your total connected gas load, measured in British Thermal Units per hour (BTU/hr) or Cubic Feet per Hour (CFH). Gas utility engineers rely on these exact calculations to select the correct diameter for your service lateral pipe and the flow capacity of your meter.
| Appliance Type | Standard Residential BTU/hr | Estimated CFH (1,000 BTU = 1 CFH) |
| Central Heating Furnace | 60,000 – 120,000 BTU/hr | 60 – 120 CFH |
| Tankless Water Heater | 150,000 – 199,000 BTU/hr | 150 – 199 CFH |
| Standard Tank Water Heater | 30,000 – 50,000 BTU/hr | 30 – 50 CFH |
| Residential Cooking Range & Oven | 30,000 – 65,000 BTU/hr | 30 – 65 CFH |
| Gas Clothes Dryer | 20,000 – 40,000 BTU/hr | 20 – 40 CFH |
| Pool Heater or Outdoor Fire Feature | 200,000 – 400,000 BTU/hr | 200 – 400 CFH |
| Whole-Home Backup Generator | 150,000 – 300,000 BTU/hr | 150 – 300 CFH |
Providing accurate, itemized load figures prevents engineering re-calculations down the line. Underestimating your load results in severe gas pressure drops when multiple appliances run simultaneously, while overestimating can trigger unnecessary industrial-tier equipment charges.
Phase 2: Complete Step-by-Step Application Workflow
While administrative procedures differ slightly across various municipal gas utilities, the universal timeline moves through six distinct regulatory and engineering stages.
+———————————————————————————–+
| THE SIX-STAGE INSTALLATION TIMELINE |
+———————————————————————————–+
| |
| Stage 1: Document Gathering & Online Application Submission |
| Upload ID, property title, site plan, and neighbor reference bill. |
| |
| Stage 2: Utility Engineering Survey & Route Assessment |
| Field technician evaluates main connection point and meter position. |
| |
| Stage 3: Demand Notice & Cost Estimate Issuance |
| Utility issues fee schedule for connection charges and security deposit. |
| |
| Stage 4: Internal House Line Piping & Permitting |
| Licensed plumber installs internal black iron/CSST lines to drops. |
| |
| Stage 5: Pressure Testing & Municipal Inspection Sign-Off |
| System undergoes air pressure test; local inspector places green tag. |
| |
| Stage 6: Main Trenching, Meter Installation, & Gas Activation |
| Utility lays underground line, sets meter, purges air, unlocks fuel. |
| |
+———————————————————————————–+
Stage 1: Documentation and Application Filing
Every successful utility connection begins with thorough paperwork. Missing or illegible documents cause more application rejections than technical site issues. When asking how can I get a new gas pipeline connection? What should I do to make the process easier?, your immediate action item is gathering the following mandatory records:
- Proof of Ownership: Certified property registry, deed, allotment letter, or official land tax assessment confirming your legal right to the premises.
- Government-Issued Identification: Valid National ID (CNIC), Passport, or Driver’s License belonging to the property owner.
- Neighbor Reference Document: A copy of a recent gas utility bill from a neighboring property on the same street. Utility mapping teams use the neighbor’s consumer account number to locate the precise main pipeline junction in their GIS mapping system.
- Approved Site & Completion Plan: A scaled architectural blueprint showing property lines, building footprint, driveway layout, and the requested exterior meter point.
- Tenants / Commercial Lessees: A formal lease agreement accompanied by an official No-Objection Certificate (NOC) signed and notarized by the property owner.
- Housing Society NOC: If your property resides within a gated development, cooperative housing society, or municipal development authority (such as CDA, LDA, or private townships), an official utility NOC confirming no unpaid infrastructure dues exist is required.
Stage 2: Utility Field Survey and Technical Review
Upon verifying your application and uploaded documents, the utility company assigns a technical surveyor or field design officer. The surveyor visits your property to inspect:
- The shortest, safest path from the street distribution main to your lot boundary.
- The physical suitability of your proposed exterior meter mounting location.
- Compliance with mandatory safety clearances from electrical panels, ignition sources, window openings, and water lines.
Stage 3: Demand Notice Generation and Fee Payment
Once the technical survey receives engineering clearance, the utility company issues an official Demand Notice or cost estimate. This document outlines:
- Service line construction and trenching fees.
- Gas meter security deposit (refundable upon account termination).
- Applicable sales taxes or municipal rights-of-way fees.
Paying your Demand Notice immediately at a designated bank or via the online utility portal locks in your job order on the field construction schedule.
Stage 4: Internal Fuel Line Installation
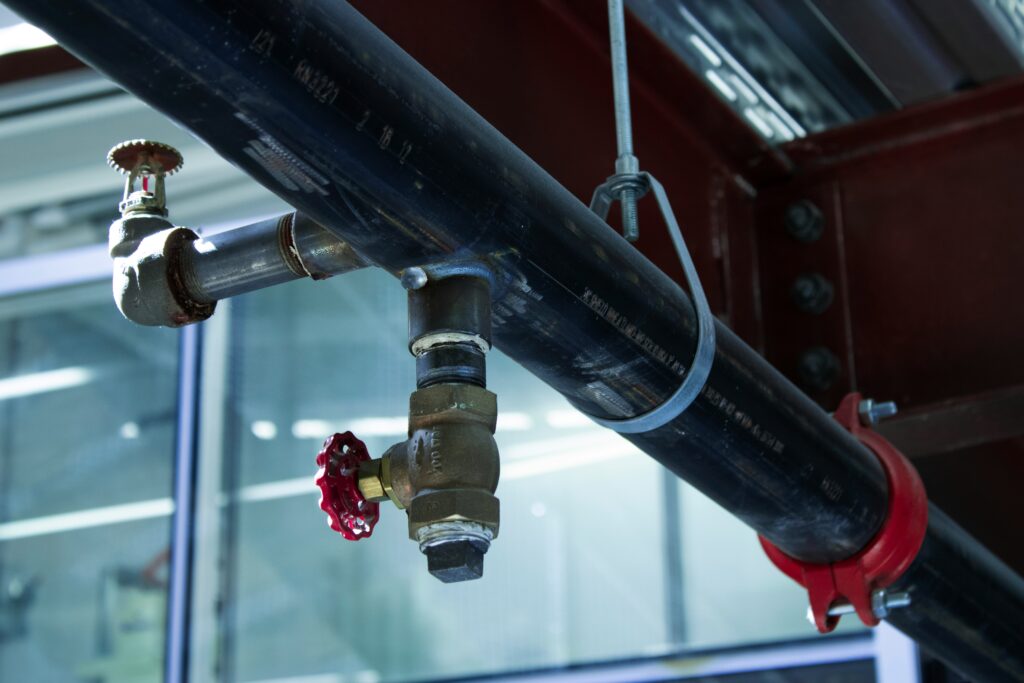
While the utility schedules its heavy trenching machinery, you must engage a licensed plumbing or mechanical contractor. Your plumber installs the internal fuel delivery network from the proposed meter riser location to each gas appliance drop point inside the building.
Stage 5: Pressure Integrity Test and Municipal Approval
Before the utility will connect gas supply to your customer line, safety regulations require an official pressure test. Understanding natural gas safety guidelines before installation also helps ensure your property meets the required standards. Your contractor caps all appliance drops, connects a pressure gauge, and pumps the system with compressed air (typically 30 to 50 PSI for a duration of 15 to 30 minutes). A local municipal building inspector or utility safety representative observes the gauge. If the pressure holds without dropping, the inspector issues a formal inspection certificate or posts an approval green tag on the riser pipe.
Stage 6: Service Trenching, Meter Installation, and Final Activation
The final step occurs when the utility construction crew arrives to trench from the street main to your property line, laying high-density polyethylene (HDPE) or coated steel service line underground. They mount the gas meter, install the primary regulator, connect your internal fuel line, purge air from the system, leak-test the meter unions, and remove the lock from the main shutoff valve.
Strategic Practices: How Can I Get a New Gas Pipeline Connection? What Should I Do to Make the Process Easier?
Navigating utility bureaucratic timelines requires active project management. The average utility connection can take anywhere from 6 to 16 weeks if left on autopilot. However, implementing targeted, proactive strategies can dramatically cut through administrative friction and reduce installation wait times.
+———————————————————————————–+
| PROCESS ACCELERATION STRATEGIES |
+———————————————————————————–+
| |
| [1] Pre-Select an Inspection-Compliant Meter Site |
| -> Avoid location rejections by choosing a clear, accessible exterior wall. |
| |
| [2] Perform Private Utility Locates Ahead of Time |
| -> Prevent hit lines and costly work stoppages by mapping private pipes. |
| |
| [3] Enforce Strict “Site Readiness” Before Crews Arrive |
| -> Clear 10ft pathways and establish final soil grade within 6 inches. |
| |
| [4] Run Internal Plumbing and Public Utility Work Concurrently |
| -> Match inspection sign-off dates directly with the utility meter setting. |
| |
| [5] Digitally Track Portal Status and Respond to Notices Instantly |
| -> Pay Demand Notices within 24 hours to secure prime scheduling slots. |
| |
+———————————————————————————–+
Strategy 1: Pre-Select an Inspection-Compliant Meter Location
Rejection of the proposed meter location by the field surveyor is the single leading cause of initial application delays. When property owners ask how can I get a new gas pipeline connection? What should I do to make the process easier?, selecting a code-compliant meter site on day one is the most effective preventative measure.
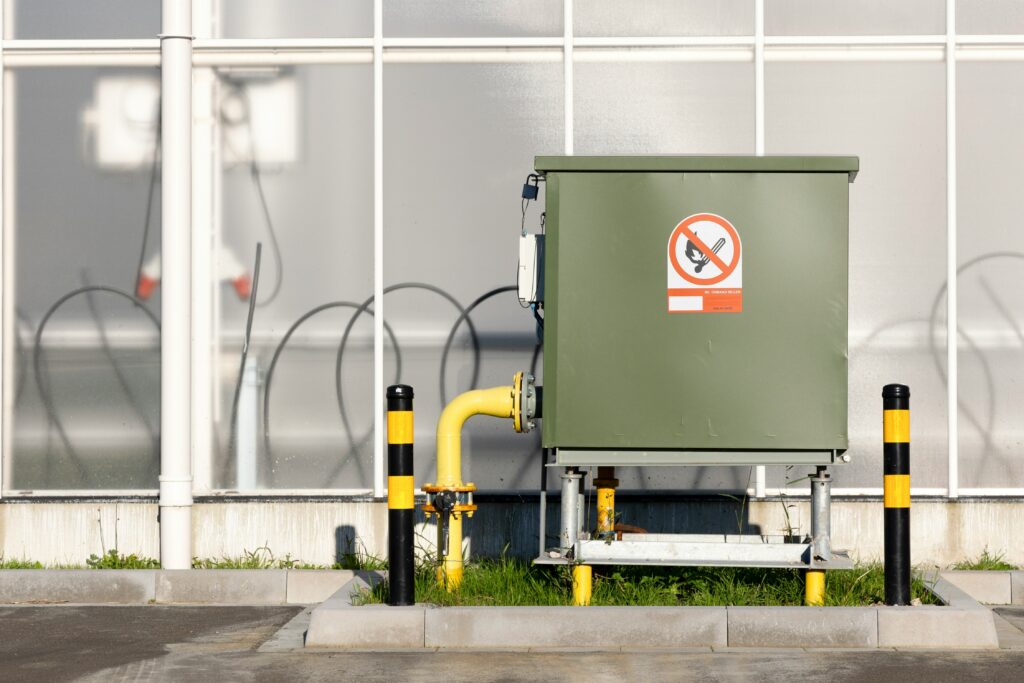
- DO: Mount the meter on an exterior wall near the front corner of the building closest to the street main. Ensure the site offers direct, unobstructed physical access for utility meter readers and emergency responders.
- DO: Ensure the meter is protected from potential vehicle impact (install steel bollards if near a driveway) and shielded from heavy roof water runoff or falling ice.
- DON’T: Place the meter indoors, under enclosed decks, inside carports, or behind locked security gates.
- DON’T: Mount the meter within 3 feet of operable windows, air intake vents, outdoor electric meters, breaker boxes, or central air conditioning compressors.
+———————————————————————————–+
| METER LOCATION CLEARANCE REQUIREMENTS |
+———————————————————————————–+
| |
| [ Operable Window / Vent ] <——- Min. 3 Feet ——-> [ Gas Meter Assembly ] |
| |
| [ Electric Meter / Panel ] <——- Min. 3 Feet ——-> [ Gas Meter Assembly ] |
| |
| [ Ignition / Spark Source ] <—— Min. 3 Feet ——-> [ Gas Meter Assembly ] |
| |
| [ Driveway / Vehicle Area ] <—— Must Have Protective Steel Bollards ——–>|
| |
+———————————————————————————–+
Strategy 2: Execute Private Underground Utility Mapping
Public utility location services (such as 811 calls) are legally required prior to any street excavation. However, public locators only mark public utility lines—they will not sweep your private lot for buried assets.
If your property has underground electrical feeds to a detached garage, landscape lighting wiring, lawn sprinkler pipes, or septic tanks, an unmapped utility conflict will halt excavation immediately. The utility trenching crew will pack up, issue a trip cancellation charge, and require you to reschedule after clearing the obstacle. Hiring an independent private utility locator to mark your property before the utility crew arrives ensures uninterrupted trenching.
Strategy 3: Enforce Strict “Site Readiness” Standards
When asking how can I get a new gas pipeline connection? What should I do to make the process easier?, managing physical site conditions is paramount. Utility installation teams operate under tight daily schedules. If they arrive at your location and encounter an unprepared work area, they will abort the job order.
To ensure your property passes site readiness verification on the first attempt:
- Establish Final Soil Grade: The ground along the proposed trench path must be within 6 inches of final landscaping grade. Utility service pipes must be buried at precise statutory depths (typically 18 to 36 inches below grade). If dirt levels change later, the pipe risks exposure or crushing.
- Clear a 10-Foot Corridor: Remove construction debris, soil piles, scaffolding, garbage dumpsters, and parked vehicles along the path between the street main and the meter wall.
- Finish Exterior Wall Surfaces: Complete all wall masonry, brickwork, stucco, or siding at the meter mounting point so the meter bracket can be anchored permanently to structural backing.
Strategy 4: Synchronize Public Utility and Private Plumbing Workstreams
A frequent mistake made by property owners is working sequentially rather than concurrently. Owners often wait for the utility to complete street trenching before hiring an interior plumber, or complete all interior plumbing first before applying to the utility.
+———————————————————————————–+
| OPTIMIZED CONCURRENT WORKFLOW |
+———————————————————————————–+
| |
| WEEK 1-2: [ Submit Utility Application ] & [ Hire Licensed Mechanical Plumber ] |
| | |
| WEEK 3-5: [ Utility Site Survey ] & [ Plumber Runs Internal House Lines ] |
| | |
| WEEK 6-7: [ Pay Demand Notice ] & [ Perform Air Test & Get Inspector Tag]|
| | |
| WEEK 8: ====================[ METER SET & ACTIVATION ]===================== |
| |
+———————————————————————————–+
By running both paths simultaneously, your interior pressure test inspection sign-off occurs right as the utility field team receives authorization to lay the service line and mount the meter. This eliminates weeks of idle waiting.
Strategy 5: Monitor Application Portals Digitally and Act Instantly
Modern utility providers utilize automated customer portals and SMS tracking systems. When asking how can I get a new gas pipeline connection? What should I do to make the process easier?, proactive digital tracking plays a major role:
- Log into the utility tracking portal weekly using your application reference number.
- When a Demand Notice or fee invoice is uploaded, pay it within 24 hours. Applications sit dormant until payment verification is logged in the system.
- Ensure the mobile phone number listed on your application is active and unblocked to receive automated SMS alerts from field survey teams.
Technical Materials Comparison: Black Iron Pipe vs. CSST
When your licensed contractor installs the interior piping system from the meter to your appliances, they will typically propose one of two primary piping materials. Understanding the differences empowers you to make informed cost and durability decisions.
+———————————————————————————–+
| PIPING MATERIAL COMPARISON MATRIX |
+———————————————————————————–+
| |
| BLACK IRON PIPE (SCH 40 STEEL) CORRUGATED STAINLESS STEEL (CSST) |
| —————————— ———————————- |
| * Rigid, highly durable * Flexible, continuous snake runs |
| * Requires threaded joint connections * Requires minimal fittings/joints |
| * Labor-intensive installation * Fast, low-labor installation |
| * Extremely high crush resistance * Requires electrical grounding bond |
| * Ideal for straight exposed runs * Ideal for snaking through walls |
| |
+———————————————————————————–+
| Feature / Property | Black Schedule 40 Steel Pipe | Corrugated Stainless Steel Tubing (CSST) |
| Material Structure | Rigid carbon steel with threaded fittings | Flexible corrugated stainless steel with yellow or black jacket |
| Installation Speed | Slower; requires cutting, threading, and measuring rigid lengths | Fast; snakes continuously through floor joists and wall studs |
| Leak Potential | Moderate; every directional turn requires a threaded joint connection | Very low; continuous runs eliminate intermediate joints inside walls |
| Material Cost | Lower material cost per linear foot | Higher material cost per linear foot |
| Labor Cost | Higher labor cost due to manual threading and fitting assembly | Lower labor cost due to rapid installation times |
| Crush & Puncture Resistance | Superior; virtually immune to accidental nail punctures | Moderate; requires steel striker plates where passing through studs |
| Electrical Grounding | Standard electrical grounding | Requires direct copper bonding jumper to main electrical ground |
For long, straight runs in basements, mechanical rooms, or industrial spaces, rigid black iron pipe remains the industry standard. For retrofitting existing finished walls or complex residential floor layouts, flexible CSST significantly reduces installation labor and minimizes hidden joint leaks.
Financial Analysis: Understanding Total Connection Investment
Evaluating the overall financial requirements of a new gas pipeline connection helps prevent budget surprises midway through the project. Related articles can also explore home improvement and utility guides to help property owners plan infrastructure upgrades more effectively.
+———————————————————————————–+
| ESTIMATED COST ALLOCATION BREAKDOWN |
+———————————————————————————–+
| |
| [ Municipal Application & Security Deposit ] —> 5% – 10% of Total Budget |
| [ Utility Service Line & Trenching Fees ] —> 25% – 35% of Total Budget |
| [ Internal House Piping & Drop Labor ] —> 50% – 60% of Total Budget |
| [ Municipal Permits & Inspection Sign-Off ] —> 5% – 10% of Total Budget |
| |
+———————————————————————————–+
| Cost Category | Financial Responsibility | Typical Cost Range (USD Equivalent) | Primary Cost Variables |
| Application & Processing Fees | Public Utility Company | $15 – $100 | Fixed utility administrative tariffs. |
| Refusal / Security Deposit | Public Utility Company | $100 – $500 | Fully refundable upon account closing; scales with meter capacity. |
| Service Line Trenching & Main Tap | Public Utility Company | $300 – $2,500 | Linear distance from street main to meter; pavement cutting vs. soft soil drilling. |
| Main Line Extension (If Required) | Public Utility Company / Customer | $1,000 – $10,000+ | Extended footage required to bring distribution line down an unserved street. |
| Internal Fuel Piping Labor & Materials | Licensed Mechanical Contractor | $1,200 – $4,500 | Linear footage of pipe, material choice (CSST vs. Black Iron), number of appliance drops. |
| Permit & Inspection Sign-Off Fees | Local Building Department | $75 – $350 | Municipal rate schedules and re-inspection penalties. |
Utility Tariff Tip: Many gas distribution companies offer partial rebates or waive service line construction fees entirely if you agree to connect primary high-consumption fuel appliances (such as a primary heating furnace and central water heater) rather than using gas exclusively for low-volume cooking appliances.
Comprehensive Troubleshooting Guide: Resolving Process Stalled Cases
Even with meticulous preparation, utility applications can occasionally stall within the administrative pipeline. Knowing how to troubleshoot delays ensures your request keeps moving forward.
+———————————————————————————–+
| TROUBLESHOOTING COMMON DELAY SCENARIOS |
+———————————————————————————–+
| |
| PROBLEM: “Application Status Stuck on Survey Pending” |
| SOLUTION: Re-verify neighbor bill reference and contact regional sales officer. |
| |
| PROBLEM: “Demand Notice Not Issued Due to Line Unfeasibility” |
| SOLUTION: Apply under commercial/RLNG tariff options or request neighbor group. |
| |
| PROBLEM: “System Failed Air Pressure Integrity Test” |
| SOLUTION: Plumber must apply soapy water to threaded joints to isolate micro-leaks.|
| |
| PROBLEM: “Meter Installation Denied Due to Safety Clearance Failure” |
| SOLUTION: Relocate proposed meter point 3ft away from windows/electrical panels. |
| |
+———————————————————————————–+
Scenario 1: The Application Remains “Pending Survey” for Over 30 Days
- Root Cause: The mapping department cannot locate your exact street distribution main because the uploaded neighbor reference bill was inaccurate, or your address is unmapped in the GIS database.
- Resolution: Visit your local utility customer facilitation center in person. Provide a updated gas bill copy from a neighbor located on your immediate side of the street, alongside exact GPS coordinates of your lot.
Scenario 2: The Utility Declares the Location “Unfeasible”
- Root Cause: No gas main exists in front of your house, or existing main pressure is too low to support additional consumer drops.
- Resolution: Ask the engineering department for a formal Main Extension Feasibility Study. Alternatively, collaborate with neighboring homeowners on your street to submit a joint multi-property application. Utilities are far more likely to fund a main line extension when multiple households commit to connecting simultaneously.
Scenario 3: The Internal House Line Fails the Pressure Test
- Root Cause: A micro-leak exists at a threaded iron pipe joint or fitting connection, causing the air test pressure gauge to drop over time.
- Resolution: Have your plumber spray a concentrated soap-and-water solution over every joint while the line is pressurized. Bubbles will immediately form over leaking fittings. The plumber must disassemble, re-apply Teflon pipe dope or thread sealant, tighten the fitting, and repeat the air test.
Long-Term Safety Protocols and System Maintenance
Once your new gas pipeline connection is fully activated, maintaining long-term operational safety protects your property and ensures uninterrupted service.
+———————————————————————————–+
| POST-ACTIVATION SAFETY CHECKLIST |
+———————————————————————————–+
| |
| [ ] Annual Inspection: Schedule an annual mechanical check of all gas lines. |
| [ ] Clear Meter Access: Keep 3 feet of clear space around the exterior meter. |
| [ ] Detect Leaks Early: Recognize the rotten egg odor (Mercaptan) indicator. |
| [ ] Carbon Monoxide Safety: Install CO alarms on every level of the property. |
| [ ] Shutoff Familiarity: Train all occupants on operating the main gas valve. |
| |
+———————————————————————————–+
1. Recognizing Gas Leak Odorants
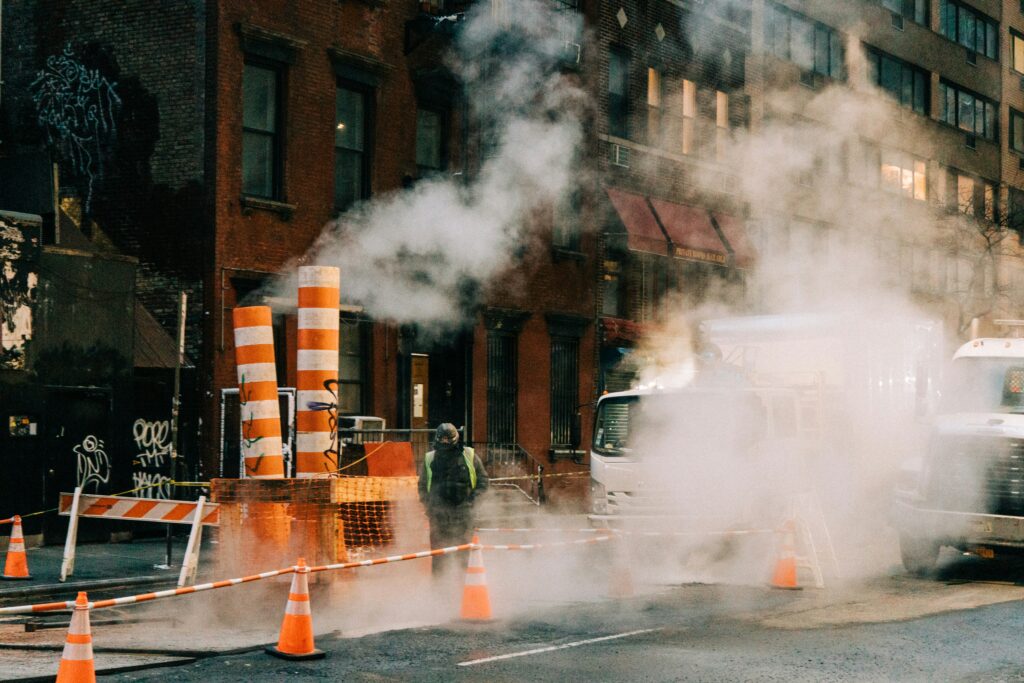
Natural gas is naturally colorless, tasteless, and odorless. To ensure public safety, gas distribution utilities inject an odorant called Mercaptan into the pipeline supply. Mercaptan produces a distinct, pungent smell resembling sulfur or rotten eggs.
If you ever detect this smell inside or around your property:
- DO NOT flip electric light switches, light matches, or operate electrical devices.
- DO NOT attempt to locate the leak yourself.
- DO immediately evacuate all occupants from the building, leaving entry doors open to ventilate the space.
- DO turn off the main gas valve at the meter if safe to do so.
- DO call the utility emergency helpline (e.g., 1199 or emergency services) from a safe distance outside the property.
2. Installing Carbon Monoxide (CO) Detectors
Incomplete combustion of natural gas produces carbon monoxide, a dangerous, odorless gas. Install certified carbon monoxide alarms outside sleeping areas and near mechanical rooms on every floor of your property. Test alarm batteries monthly and replace units every 5 to 7 years.
3. Maintaining Sediment Traps (Drip Legs)
Ensure your plumbing contractor installs a sediment trap—a capped nipple extending downward from the fuel line—at the inlet connection to every appliance. Sediment traps catch trace moisture, dust, and pipe scale before contaminants enter delicate appliance gas valves.
To Gas Appliance
^
|
|
Gas Supply Line —> [ TEE ]
|
|
[ Sediment Trap ] <— Catches scale and moisture debris
|
[ Pipe Cap ]
Frequently Asked Questions
1. How can I get a new gas pipeline connection? What should I do to make the process easier if I am a tenant renting a home?
As a tenant, you must submit a valid tenancy agreement alongside an official, notarized No-Objection Certificate (NOC) signed by the property owner. To make the process easier, ask the landlord to provide certified copies of their property ownership title and a recent gas bill from an immediate neighbor before submitting your online application.
2. What is the average total time required to get a new gas pipeline connection?
For standard residential drops where a main gas line passes directly in front of the property, the process typically takes 6 to 12 weeks. If a main extension, highway crossing permit, or extensive municipal right-of-way approval is required, the timeline can extend to 16 weeks or more.
3. Why are domestic gas connections currently offered under RLNG tariffs in certain regions?
Due to supply constraints on conventional domestic natural gas reserves, regulatory authorities (such as OGRA in Pakistan) mandate that new domestic connections be supplied via imported Regasified Liquefied Natural Gas (RLNG) tariffs. While the physical pipeline network, gas meter, and internal appliances operate identically, RLNG tariffs are priced according to international LNG market indices rather than subsidized domestic rates.
4. Can I install the interior gas piping myself to save money?
No. Interior fuel line installation requires precise pipe sizing, thread cutting, joint sealing, and pressure safety testing. Building codes and utility regulations strictly mandate that internal gas piping be installed by a licensed mechanical or plumbing professional to ensure system safety and pass municipal inspection.
5. What should I do if my gas connection application is rejected due to an address discrepancy?
Address discrepancies occur when the property address on your title deed differs slightly from municipal billing records. To make the process easier and resolve the rejection, obtain an official address confirmation certificate from your local municipal development authority or union council, and upload it alongside an updated property site plan.
6. Is a gas meter allowed to be installed inside a garage or basement?
No. Modern gas installation codes almost universally prohibit mounting primary gas meters inside garages, basements, or enclosed living spaces. Meters must be mounted outdoors on an exterior wall to ensure proper venting of the pressure regulator and provide safe access for emergency shutoffs.
7. What is the purpose of the 811 utility locate service before digging?
Calling 811 triggers public utility providers to mark the underground locations of public gas, electric, water, and fiber optic lines on your property using color-coded spray paint. This prevents excavation machinery from accidentally striking buried infrastructure during trenching.