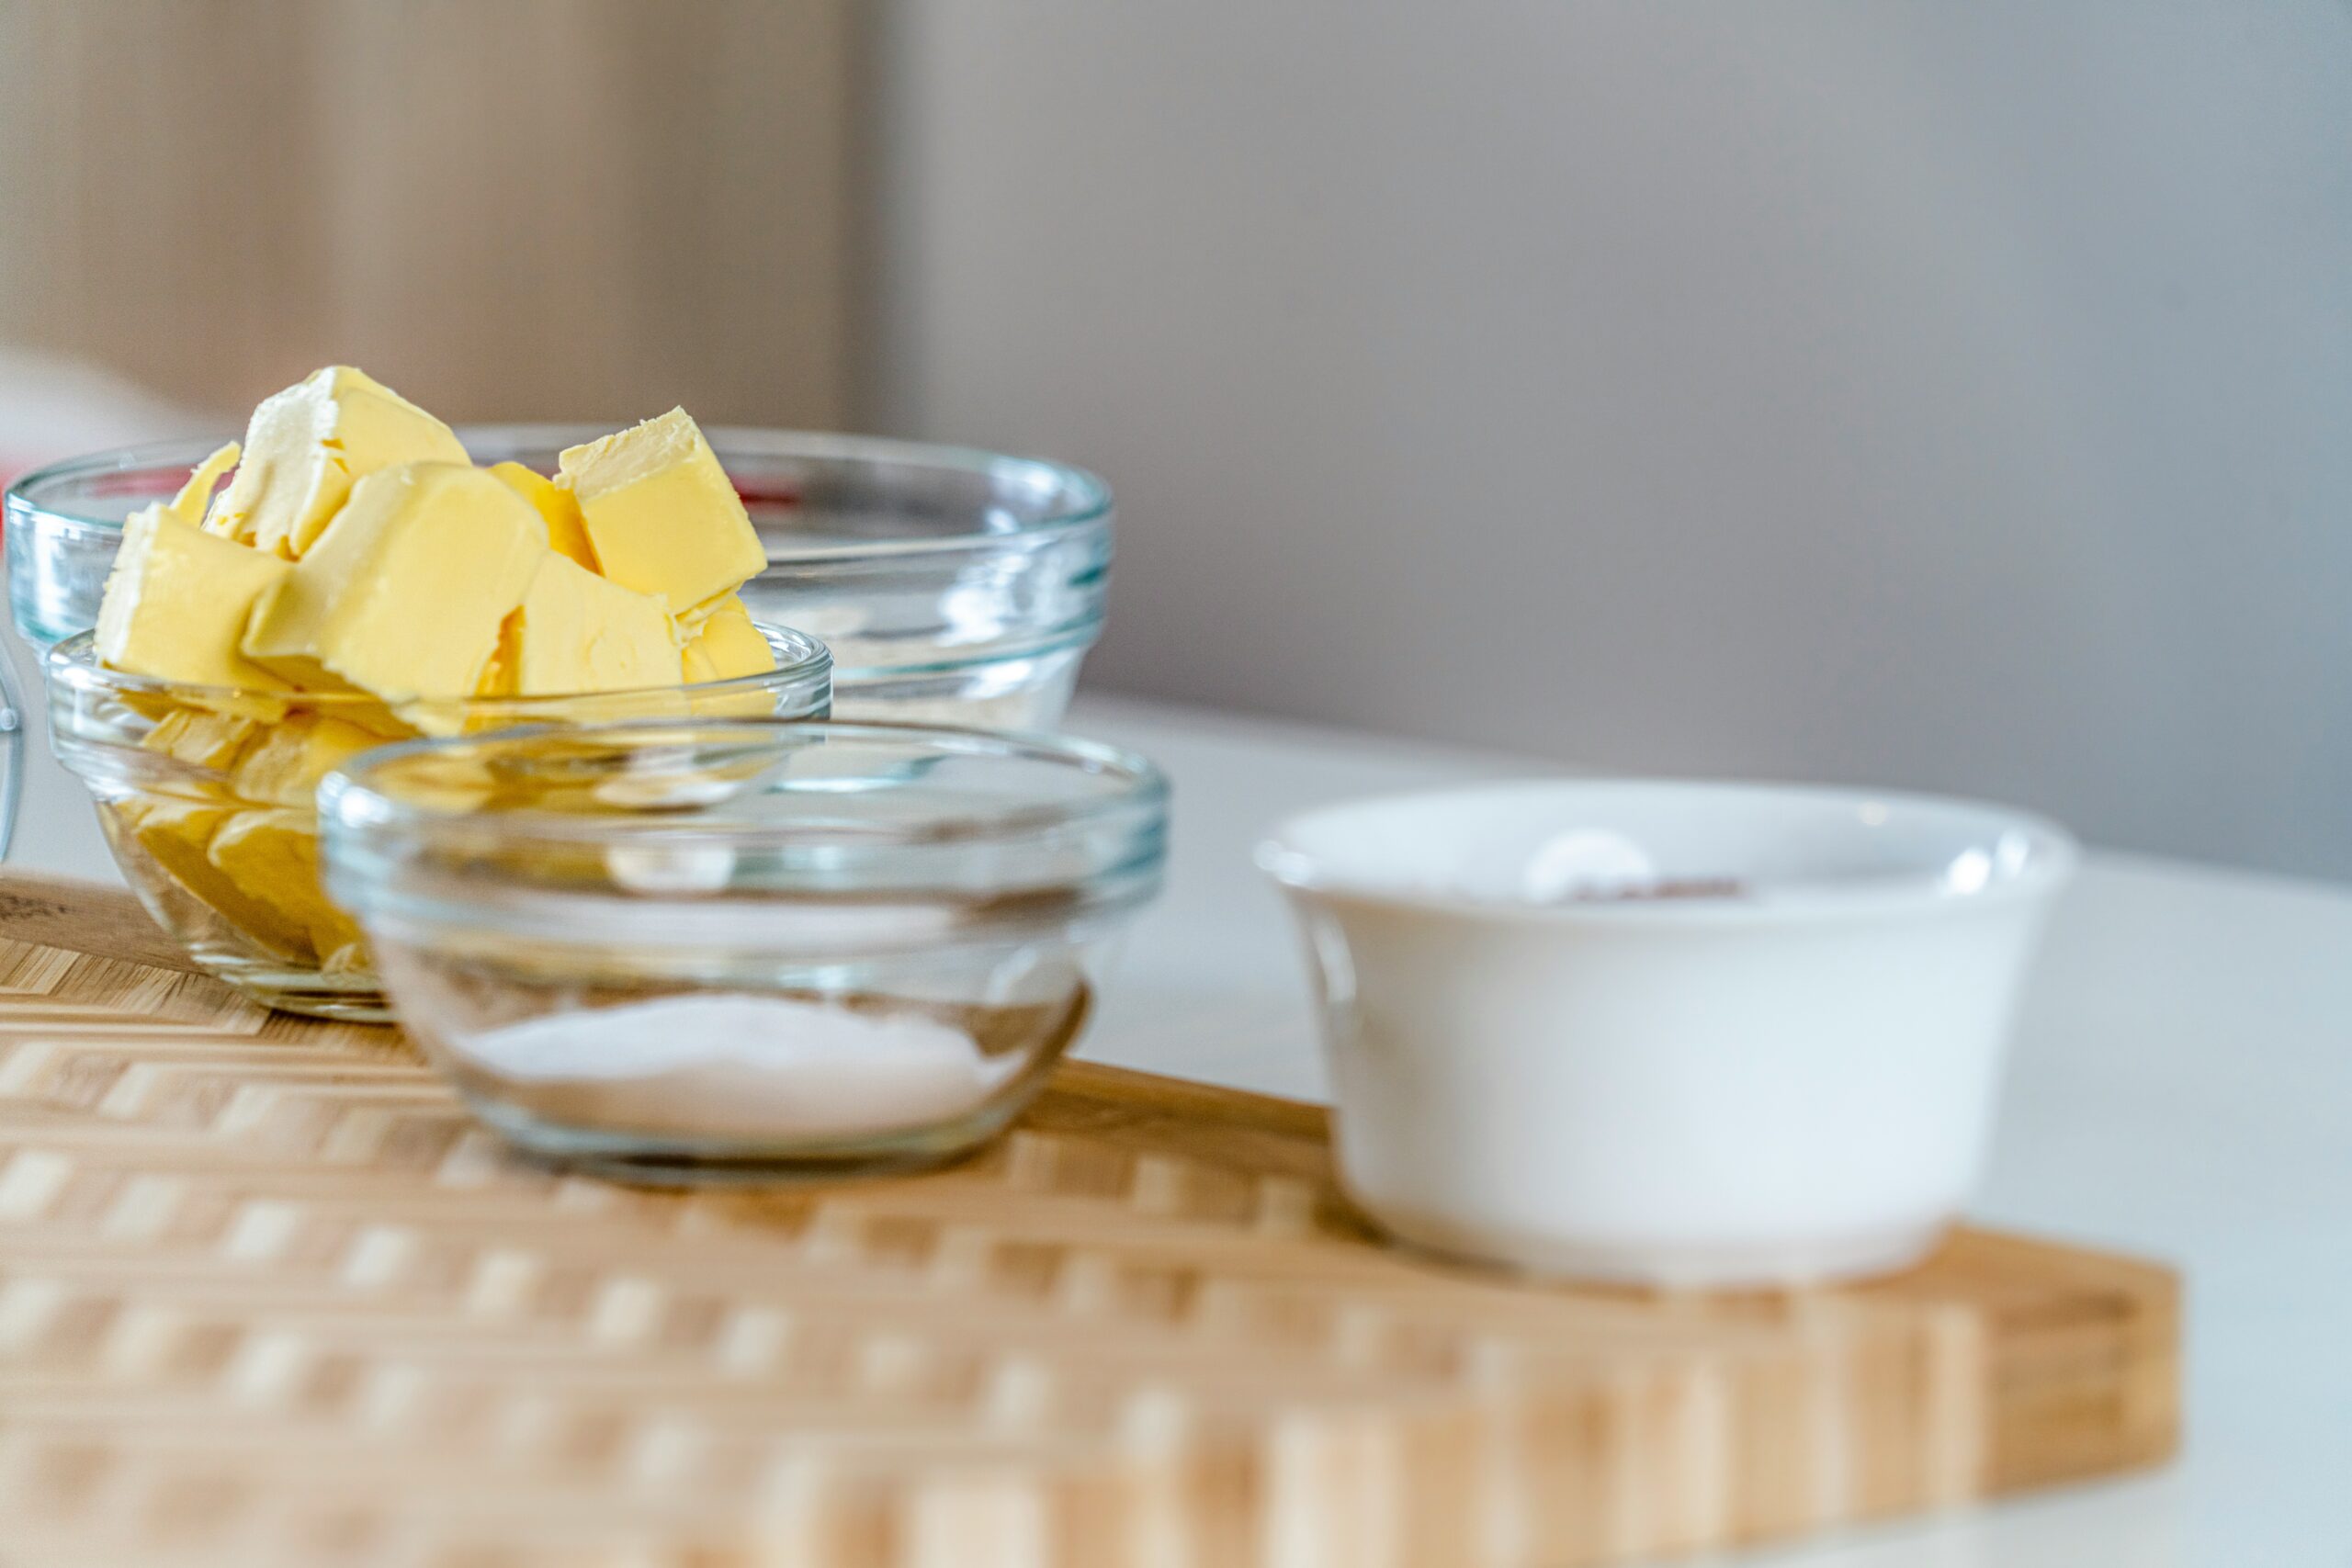
Five words can encapsulate one of the most essential baking techniques: “cream butter and sugar until light and fluffy.” Most baking pros take those words in stride. For others, however, that single sentence is an absolute mystery. Learning how to cream butter and sugar properly raises several practical questions: How soft should the butter be? How long should the mixer run? Should the sugar disappear completely? And what does “fluffy” actually look like?
Knowing how to cream butter and sugar answers those questions and reveals why the step matters in the first place. Creaming is more than just combining two items. It is a managed process of air being folded into softened butter, in such a way that the sugar crystals enable the formation and maintenance of tiny air cells. These cells may lend support to cakes, muffins and some cookies.
Learning how to cream butter and sugar is straightforward, but the details matter. The butter can be too cold (it won’t whip well) or too warm (it won’t hold the structure formed during beating). It’s not always the case that the longer you beat it, the more you benefit. The easiest way of succeeding is to know what the mixture should look and feel like at each stage and be guided by this.
What Does Creaming Butter and Sugar Mean?
“Creaming butter and sugar” involves beating softened butter and sugar together until they achieve a pale and frothy consistency.
Cream itself is not involved in this process. The name refers to the texture achieved by beating the butter until creamy and then working the sugar into the butter.
During how to cream butter and sugar, sugar crystals move through the softened butter. This action, in conjunction with the action to incorporate air into those spaces, leads to the development of a fat-sugar-air matrix that becomes integral to the structure of the cake batter. According to King Arthur Baking, it’s these air bubbles that can interact with gases generated by chemical leaveners and eventually develop a “lighter cake and smaller crumb structure”.
This is the difference between creaming and “just stirring”. Stirring alone will combine butter and sugar; traditionally, creaming is done for structural reasons. This differentiation is especially critical for recipes that specifically instruct creaming. When softened butter and sugar are creamed before the eggs and flour are incorporated, it isn’t a prerequisite to mixing, it is the mixing and is therefore part of the recipe instructions.
Why Creaming Changes the Finished Bake
The easiest way to understand the technique is to consider what happens after the mixing bowl is put away.
A properly aerated butter-and-sugar mixture is one of the key results of learning how to cream butter and sugar correctly. It carries tiny air pockets into the batter or dough. Once the mixture enters the oven, heat causes gases and moisture to expand. Chemical leaveners such as baking soda or baking powder may also produce gases, depending on the formula.
This in turn creates a lighter, more tender structure that just mixing it with sugar wouldn’t.
According to King Arthur Baking-effective creaming of butter and sugar leads to a finer cake crumb and a crispier lighter cookie.
However, this doesn’t mean more air is always better. Many recipes are designed with specific amounts of aeration, an air-heavy incorporation can create an amazing texture in cakes, but can cause a certain cookie to be too fluffy and cakey.
The objective is not to whip butter to the biggest size possible, but develop the texture of the recipe.
How to Cream Butter and Sugar Correctly
It is a lot easier when you stop viewing it as an “in and out game” and start to view it as an “end to end” process
1. Start With Properly Softened Butter
This is the foundation of the entire technique.
Butter intended for traditional creaming should be soft enough to press with a finger but still firm enough to retain its shape. King Arthur Baking describes properly softened butter as pliable, slightly cool, and not greasy.
That is very different from melted butter.
If you press a finger into the butter and leave a clear indentation with modest resistance, the consistency is usually suitable. If the butter feels oily, looks shiny, or is beginning to melt, it is probably too warm.
The phrase “room temperature butter” can be misleading because kitchens do not all have the same temperature. A better test is the butter itself.
Why Cold Butter Causes Problems
Cold butter is firm and difficult to aerate.
“When the butter is hard and icy, it doesn’tcreamwell and move as fluidly as softened butter will, leading to a thick mixture that stays clunky.” King Arthur Baking says that too-cold butter doesn’t yield as easily around the pockets of air creaming the butter introduces, and so it often results in “a dense, grainy texture without much color development.” If you notice your mixer seems to be churning through lumps of hard butter, maybe the culprit isn’t a lack of creaming so much as a lack of temperature.
Why Melted Butter Is Different
Butter that has melted works nicely when the recipe is created specifically to utilize melted butter, yet it can no longer do work in the fashion of a recipe that requires butter that has been allowed to sit out and softens properly to enable the creaming method. When butter is melted down, it no longer retains the proper consistency that is required to allow butter to achieve the kind of aeration possible in the creaming process. Therefore, simply using melt butter when it has not been called for can transform the texture of the end product.
Keep it very simple – use melted butter when needed.
Use the butter that is already soft for those recipes where cream should take place.
2. Prepare the Butter for Mixing
If the butter is properly softened, you can place it directly in the mixing bowl, while learning how to soften butter quickly can help when you’re short on preparation time.
Breaking a cold stick of butter into many more pieces will melt it down faster, as more surface area will come into contact with air. Coldly grating cold butter will also do the trick, Food Network says if you really need to soften your butter in the fridge you can do this with grated butter instead of whole, without going all way and melting the butter. It is important, when using a microwave, to be extra careful because they can’t heat evenly making some of the butter melted and others very firm.
Do not heat butter until it is warm.
Instead, make sure it’s soft instead.
3. Beat the Butter Before Adding the Sugar
Some recipes begin by beating the softened butter briefly on its own.
Creaming helps the butter to soften so that the sugar can be dispersed evenly. According to Food Network, one should start with butter at room temperature and beat it briefly before adding sugar.
Creaming butter and sugar is facilitated by the use of a stand mixer with a paddle attachment. A handheld electric mixer can be an effective alternative.
If you are doing this process by hand, a robust wooden spoon will serve purpose, although it requires quite a bit of exertion on your behalf.According to BBC Good Food, creaming butter and sugar with a wooden spoon works, but it takes considerably longer than using an electric mixer.
4. Add the Sugar and Begin at a Moderate Speed
Add the sugar to the softened butter according to the recipe, then follow the proper creaming butter and sugar technique to develop the desired light and airy texture.
Add at a slow speed, if you’re using a mixer to make sure the sugar stays put in your bowl. Mix together and continue mixing until recipes specify otherwise. Start to mix at a faster speed if needed and recipe requires this.
Start with an idea that mixture will be thick.
It’ll probably look dense, and will be anything but pale yet. As mixing processes on the sugar and butter continues to mix and whip with air, texture will continue to become lighter color and in texture. The finished product from Food Network has been described as fluffy texture and is a color of light ivory.
5. Scrape the Bowl
Pause the mixer occasionally and scrape down the sides and bottom of the bowl.
This step is just as it sounds, and simply helps prevent some stray sugar from missing the main mixing flow.bbcGood Food recommends you stop occasionally to scratch down the mixture in your bowl with the spatula back towards the center before mixing further. It’s especially good practice for smaller quantities, where the sugar mixture can become sticky and reluctant to pass through the mixer readily.
6. Look for the Right Texture
This is the point where many recipes become unnecessarily confusing.
You’re not after the stuff that gets whipped up into fluffed up perfection with a fork. You’re trying to make that sweet little butter and sugar blend become pale, fluffy, cohesive, and clearly aerated. It’s going to look significantly lighter and more airy than when you started, denser but fluffy.
Some sugar texture can remain-they don’t have to be fully dissolved.
Food Network states that properly creamed butter and sugar are “pale and fluffy with a little grainy, soft texture.” useful differentiation there since that’s what creaming is designed for; for air development and structure, not fully liquidifying the sugar.
7. Stop When the Recipe’s Target Is Reached
Mixing time varies according to the quantity of ingredients, mixer, butter temperature, and recipe.
King Arthur Baking gives generally anywhere between two to three minutes as a reference point for a few creaming processes and even provides an estimate of around four minutes medium speed for the standard method for cookies. Those discrepancies indicate that there is not only one recipe timer out there. Go with what the recipe calls for initially but take note of your own results – if the mixture looks dense and sugary but should be light and airy, and the recipe already states four minutes, consider another 30 or 60 seconds – otherwise, as soon as it looks done, you might want to start to ease up.
The Three Butter Conditions Every Baker Should Recognize
The easiest way to troubleshoot creaming is to understand the three basic states of butter.
Too Cold
Cold butter tends to produce a dense, chunky mixture. The color may remain close to the original color of the butter, and the sugar may appear unevenly distributed.
The solution is not necessarily “beat longer.” If the butter is substantially too cold, correct the temperature problem first.
Just Right
Properly softened butter should be pliable but not greasy.
It should hold its shape while yielding under gentle pressure. Once combined with sugar and beaten appropriately, it should become pale and fluffy.
This is the condition traditional creaming recipes are designed around.
Too Warm
Overly soft or melted butter may produce a greasy, loose mixture.
The structure needed to retain air has been weakened, so additional beating is not necessarily the answer.
The BBC Good Food recipe offers the tip that If the butter is softening or cracking slightly during creaming you might be able to ‘ Chill the butter or butter and sugar mix briefly in the fridge until set firmly and creaming then continues’. However ‘if the butter has completely melted’it might be easier to begin again especially ‘if the recipe completely relies on the creaming method’.
How Long Should You Cream Butter and Sugar for the Best Results?
There is no single correct number of minutes for every recipe.
The mixing time depends on the amount of butter and sugar, the type of mixer, the temperature of the butter, the recipe, and the desired result.
As with many of our traditional applications, a few minutes at medium speed is usually enough to get going. Our customer King Arthur Baking says of creamed dough, “We usually find about 4 minutes on medium, with attention paid to the texture, does the trick.”
A better question than “How many minutes?” is:
Has the mixture become visibly lighter and appropriately fluffy?
If yes, proceed.
If not, continue briefly and reassess.
Can You Cream Butter and Sugar by Hand?
Yes.
Wooden spoon (low-tech – butter alternative) The time honored, old school method. Soften butter in a bowl, stir smooth, and then add sugar gradually to form a smooth mixture. Press butter into the sides of the bowl as you stir which can also help incorporate air and to mix the butter with the sugar.
Working butter and sugar by hand takes a lot more time than a mixer (electric and stationary), but it’s absolutely doable for small batches.
The BBC Good Food also says you can use a wooden spoon in place of electric beaters. Ultimately, what is most important to achieve what is required, other than the cost or status of equipment, is the form that your butter is in.
What Happens When You Over-Cream Butter and Sugar?
It is tempting to assume that more mixing means more aeration and therefore a better bake. That is not always true.
King Arthur Baking suggests that over-creaming is able to incorporate too much air and perhaps lead to an unfavorable texture for a cake. On their cookie page, they state over-creaming can lead to cookies that puff too much and become cakier than desired. The above is especially true for cookies, as if a cookie is formulated to be a chewy dense cookie the added introduction of more air can be undesirable. This holds true for cakes as well; once you have achieve your desired creamed texture do nothing more and carry on with the recipe.
Common Mistakes That Change the Result
Using Butter Straight From the Refrigerator
This makes creaming unnecessarily difficult and limits aeration.
If the recipe calls for softened butter, give the butter enough time to soften naturally or use a controlled method such as cutting it into pieces.
Melting the Butter by Accident
Melted butter is not a replacement for softened butter in a traditional creaming recipe.
If the butter has become liquid, changing the rest of the recipe to compensate is unlikely to produce exactly the intended result.
Treating “Room Temperature” as a Precise Number
The state of the butter is more practical than a temperature reading. Kitchen can be warm or cool, and butter soften differently depending on if it is whole, cubed, or grated. The finger tip test is useful in that it should indent but still hold shape.
Never Scraping the Bowl
Butter and sugar can collect on the sides or beneath the paddle.
If you do not scrape the bowl, some of the mixture may remain underdeveloped while the rest becomes properly aerated.
Assuming Every Cookie Needs the Same Amount of Creaming
Cookies vary considerably.
When someRecipes need the most amount of air beaten into them, and the melted butter and creaming(or anothermixing method-is specifically chosen to give your cookie chewiness. You may have seenthat not all cookie recipes require creaming, and melted butter can be selecteddeliberately to give a fatter cookie. King Arthur Baking points this out whenitexplainshowto cream butterand sugar for a cookie: “Cookies do notnecessarilyneed their butter and sugar creamed and can actually be thebetter’with the butter justmelted…to get a fattier cookie.
Follow the recipe rather than applying one technique to every cookie.
Creaming for Cakes vs. Cookies
The underlying technique is similar, but the desired outcome can differ.
For Cakes
The air incorporated during creaming can contribute to cake volume and crumb structure. This is why traditional butter cakes often begin with softened butter and sugar.
The goal is generally a light, pale, fluffy mixture before eggs and other ingredients are incorporated.
For Cookies
Creaming can affect not only aeration but also the eventual spread and texture of the cookie.
Insufficient creaming may leave dough dense, while excessive creaming can contribute to excessive puffing and a cakier result.
This is one reason cookie recipes should be treated as formulas rather than collections of interchangeable techniques.
What to Do if the Mixture Looks Wrong
A useful troubleshooting approach is to diagnose the appearance before changing anything.
Dense and chunky: The butter may be too cold, or the mixture may need more creaming.
Greasy and loose: The butter may have become too warm.
Pale and fluffy: The mixture is likely ready for the next stage.
Butter stuck around the bowl: Scrape the bowl and continue mixing.
Mixture curdles after eggs are added: The ingredients may not have emulsified smoothly. Follow the recipe’s remaining instructions rather than immediately adding extra flour or other ingredients.
The most important lesson is that not every visual change means the recipe has failed, and broader baking tips can help you understand how different techniques affect texture and consistency. Baking mixtures evolve as ingredients are added.
Does the Sugar Need to Dissolve?
No.
This is one of the most common misunderstandings about creaming.
You don’t have to worry about the sugar crystals melting all the way into the butter. The sugar crystals’ physical presence in the mixing process are important in the creaming technique because they create very small air pockets.
The finished mixture should be cohesive and fluffy, but it can still retain some graininess.
Trying to beat the mixture until every sugar crystal disappears can lead to unnecessary mixing.
Which Mixer Attachment Should You Use?
For a stand mixer, a paddle or flat beater is generally the appropriate attachment for creaming butter and sugar.
A hand mixer with standard beaters is also suitable.
“A whisk is more so used to fluffier ingredients or to air out quickly, like egg whites or creams. Butter and sugar is so much more dense that a paddle or standard beaters would be ideal,” say baking enthusiasts. “The tool is more than the softened butter – you just need to feel your batter.”
A Practical Example
Imagine a cake recipe calling for softened butter and granulated sugar.
You pull the butter out of the fridge and get it going right away. After several minutes, it’s still lumpy and quite dark, and you keep beating it, hoping the time will make up for it.
It may not.
The real problem is that the butter wasn’t warm enough when it went into the mixer.
Or picture a second batch of butter that is the right amount of soft, giving easily to the touch of your finger, but is still cool and firm. You beat it briefly alone; add the sugar and beat at medium speed. After several minutes, the mixture has turned light and fluffy and has lightened considerably.
That second batch is closer to the meaning of your recipe when it says, “cream until light and fluffy. “
This is not about having a stronger machine and working longer; it is about the physical properties of the butter.
The Most Reliable Creaming Routine
For most traditional recipes, the process can be reduced to a practical sequence:
First, make sure you use butter that has been softened properly. Beat it very briefly to loosen it then gradually beat in the sugar, a lot at a slow pace, ensuring from time to time to scrape down the bowl. Cease beating as soon as it’s seen to lighten to a fluffy white color and now the.
Do not melt the butter simply because it is taking too long to soften.
Do not keep beating indefinitely because you assume more air is always beneficial.
And do not judge success solely by a timer.
The appearance of the mixture is one of your best indicators.
Frequently Asked Questions
1.Is softened butter the same as room-temperature butter?
No, that’s not strictly necessary. Room temperature is recipe shorthand; the working, physical requirement is for butter soft enough to not crumble but not gooey or liquid enough to feel greasy. It should leave a fingerprint but give slight resistance.
2.Can I cream butter and sugar with a wooden spoon?
Yes. A wooden spoon can cream softened butter and sugar, although it requires more effort than an electric mixer. BBC Good Food specifically lists a wooden spoon as an alternative to electric beaters.
3.Why isn’t my butter and sugar mixture fluffy?
The butter may be too cold, the mixture may not have been beaten sufficiently, or the recipe may call for a different mixing method. Check the butter’s consistency first, then assess the texture after additional mixing.
4.Can I use powdered sugar instead of granulated sugar?
Only if the recipe permits the substitution. Different types of sugar have different particle sizes and compositions, so changing the sugar can affect texture and the way the mixture behaves.
5.What happens if I cream butter and sugar too long?
Excessive creaming can incorporate more air than the recipe needs. In cookies, this can contribute to excessive puffing and a cakier texture; in cakes, over-aeration can also produce undesirable structure.
6.How do I soften butter quickly without melting it?
Cutting the butter into smaller pieces can speed softening. Grating refrigerated butter is another option recommended by Food Network. Whichever method you use, avoid turning the butter liquid when the recipe requires traditional creaming.
7.Does every cake require creamed butter and sugar?
No. Baking recipes use several mixing methods, including methods based on melted butter, whipped eggs, or other approaches. If a recipe does not call for creaming, there is no reason to assume that creaming will produce the intended result.
Conclusion: Learn to Read the Mixture
The real trick to how to cream butter and sugar is not memorizing a particular number of minutes. It is learning to recognize the condition of the ingredients.
Softened butter is key. Sugar contributes to the little pockets which allow for aeration and mixing machines aerate these throughout the fat so the butter-sugar combination can help hold the overall bake together and texturize it. From there, don’t go overboard.
Beating butter which is too firm isn’t useful and you shouldn’t cook like butter is just softened with melted butter.
A little amount of pale, frothy mix does not need beating any more. This knowledge means “cream butter and sugar until it is a pale, foamy mix” will no longer be a mystery. You’re monitoring something rather than using an ambiguous instruction, knowing exactly when it reaches an adequate point.